코드펜 따라하기 - 내비게이션 메뉴 (2)
Codepen, Html, Css, Javascript언더바가 움직이는 내비게이션 메뉴 만들기
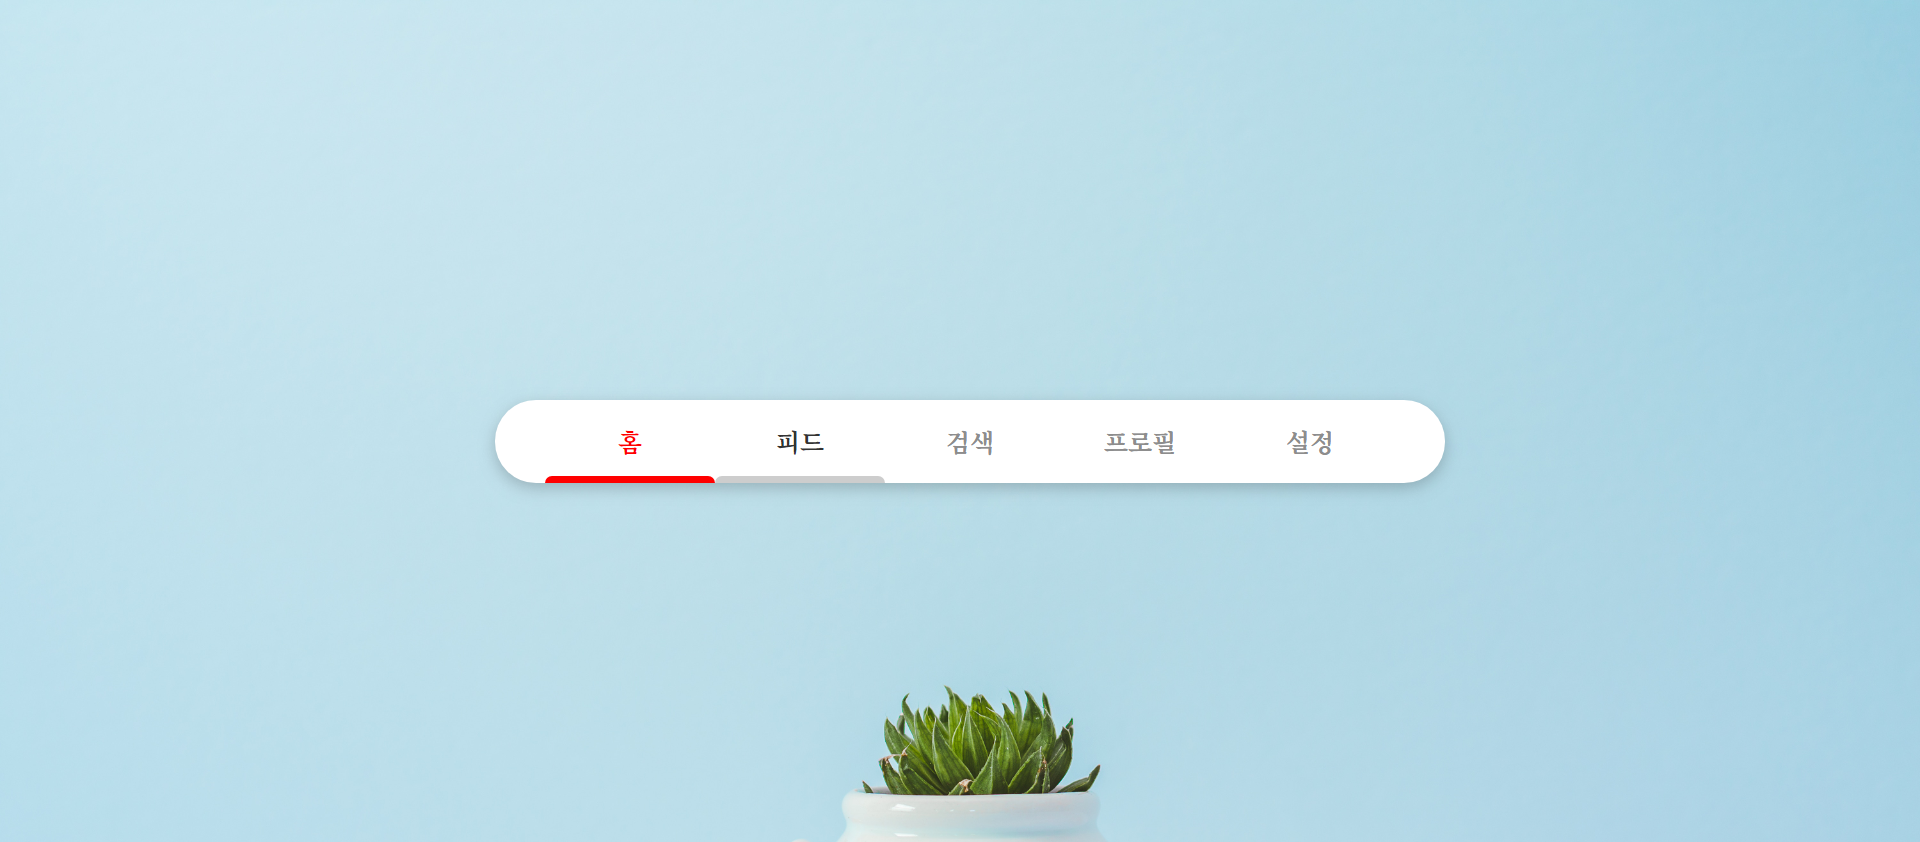
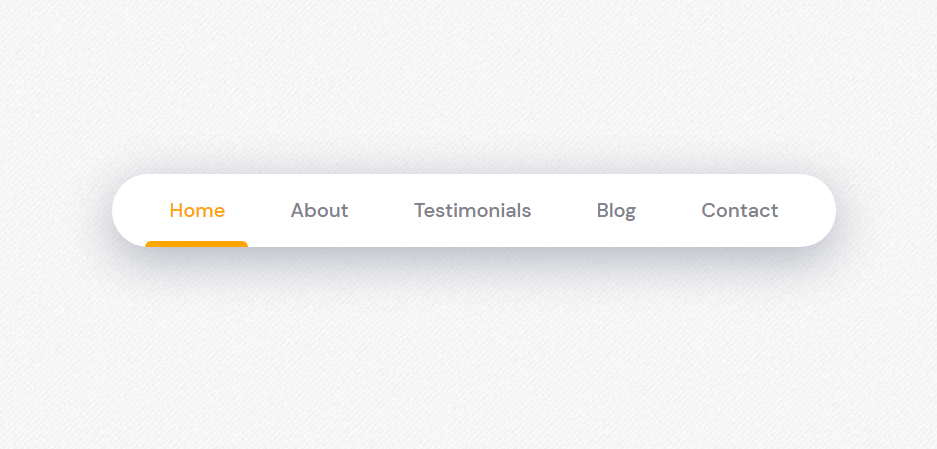 이번에 만들 것은 메뉴 텍스트를 클릭하면 텍스트를 강조하는 언더바가 해당 위치로 움직이는 내비게이션 메뉴다. 이 원본 작업 링크를 클릭하면 내가 참고한 원래 작업의 코드와 구현된 UI를 볼 수 있다. 이전 포스트에는 JS를 사용하지 않고 hover 트랜지션까지만 구현해보았다.
사용한 언어: HTML, CSS, JS (Vanilla)
1. HTML, CSS - active 속성
움직임이 들어갔을 때에 변화하는 active 속성을 HTML에 active-color, <span class='indicator'>으로 추가한다. <script>도 body안에 넣는다.
<nav>
    <a href='#' class='item' active-color='red'>홈</a>
    <a href='#' class='item' active-color='orange'>피드</a>
    <a href='#' class='item' active-color='green'>검색</a>
    <a href='#' class='item' active-color='blue'>프로필</a>
    <a href='#' class='item' active-color='purple'>설정</a>
    <span class='indicator'></span>
</nav>
<script src='navbar.js'></script>
.indicator가 기존 언더바와 같은 위치에 오도록 .item의 CSS를 복사해 붙인다. opacity값은 위치가 잘 맞으면 뺀다.
.indicator{
    position: absolute;
    left: 0;
    bottom: 0;
    width: 100%;
    height: 5px;
    background-color: #333;
    border-radius: 6px 6px 0 0;
    transition: .3s;
    z-index: 1;
    opacity: .2;
}
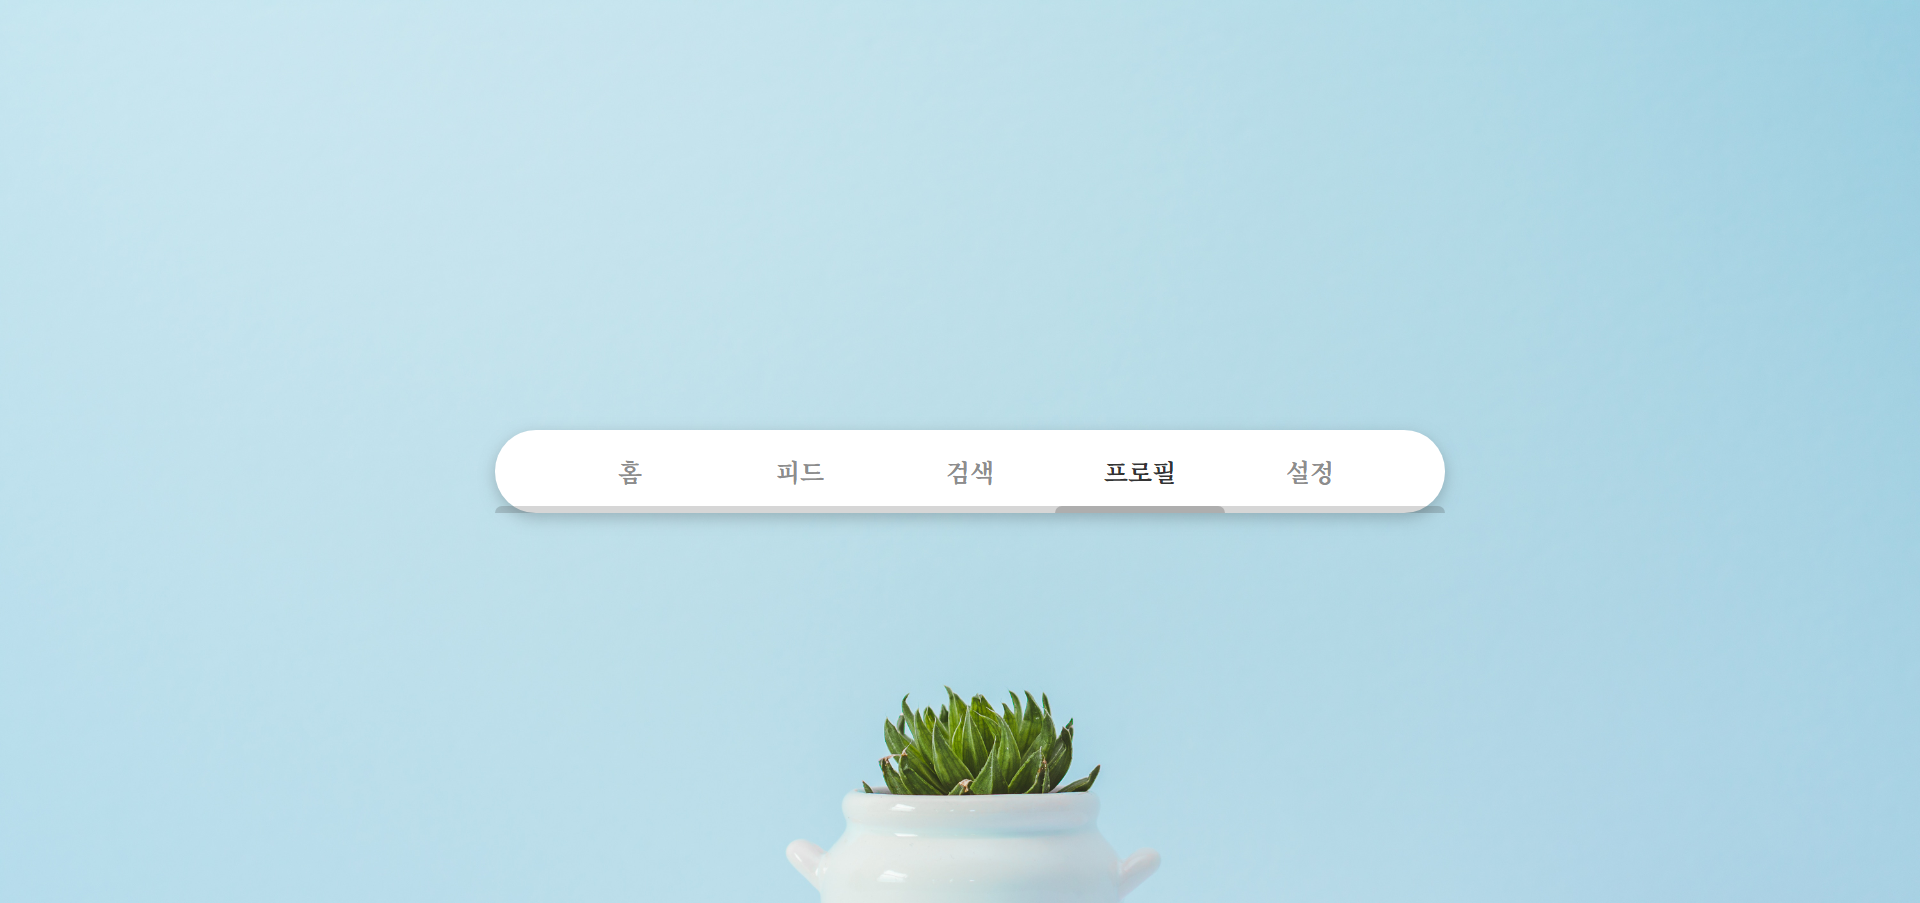
indicator를 추가했다. 이제 이걸 움직이도록 만들어야 한다.
2. JS - 변수 정의
JS에서 .indicator, .item을 가져와 변수로 만든다. 변수값 자체를 변경할 일은 없을 것이므로, const로 상수를 정의한다. 전역상수는 함수 내에서도 참조할 수 있다. CSS 선택자를 JS에 가져오려면 document.querySelector web API를 사용한다.
const indicator = document.querySelector('.indicator');
const items = document.querySelectorAll('.item');
3. JS - 이벤트 리스너 함수 생성
indicator, item의 position, color style 속성을 변경할 함수를 만든다. 요소의 style, href 등 id, class가 아닌 다른 속성을 가져올 때는 el.getAttribute를 사용한다.
function handleIndicator(item) {
    indicator.style.width = `${item.offsetWidth}px`;
    indicator.style.left = `${item.offsetLeft}px`;
    indicator.style.backgroundColor = item.getAttribute('active-color');

    item.style.color = item.getAttribute('active-color');
}
click 이벤트리스너를 item마다 적용해야하므로, .forEach() 메소드 안에 이벤트리스너를 넣는다. 클릭된 대상에만 handleIndicator함수를 실행하고 싶으니까, 함수의 파라미터로 handleIndicator(items)가 아닌 handleIndicator(e.target)을 넣는다. 여기서 e.target은 전체 .item이 아니라 click 된 .item을 의미한다.
items.forEach((item) => {
    item.addEventListener('click', handleIndicator(e.target));
})
e.target을 사용하려면 앞에 임의의 파라미터 e를 사용하는 임의의 함수를 추가해야한다. 이 함수를 따로 참조할 일은 없으니 const 등 변수 선언을 하지 않아도 된다. 함수 안에 함수가 있으니 좀 복잡해보인다.
items.forEach((item) => {
    item.addEventListener('click', (e) => {handleIndicator(e.target)});
})
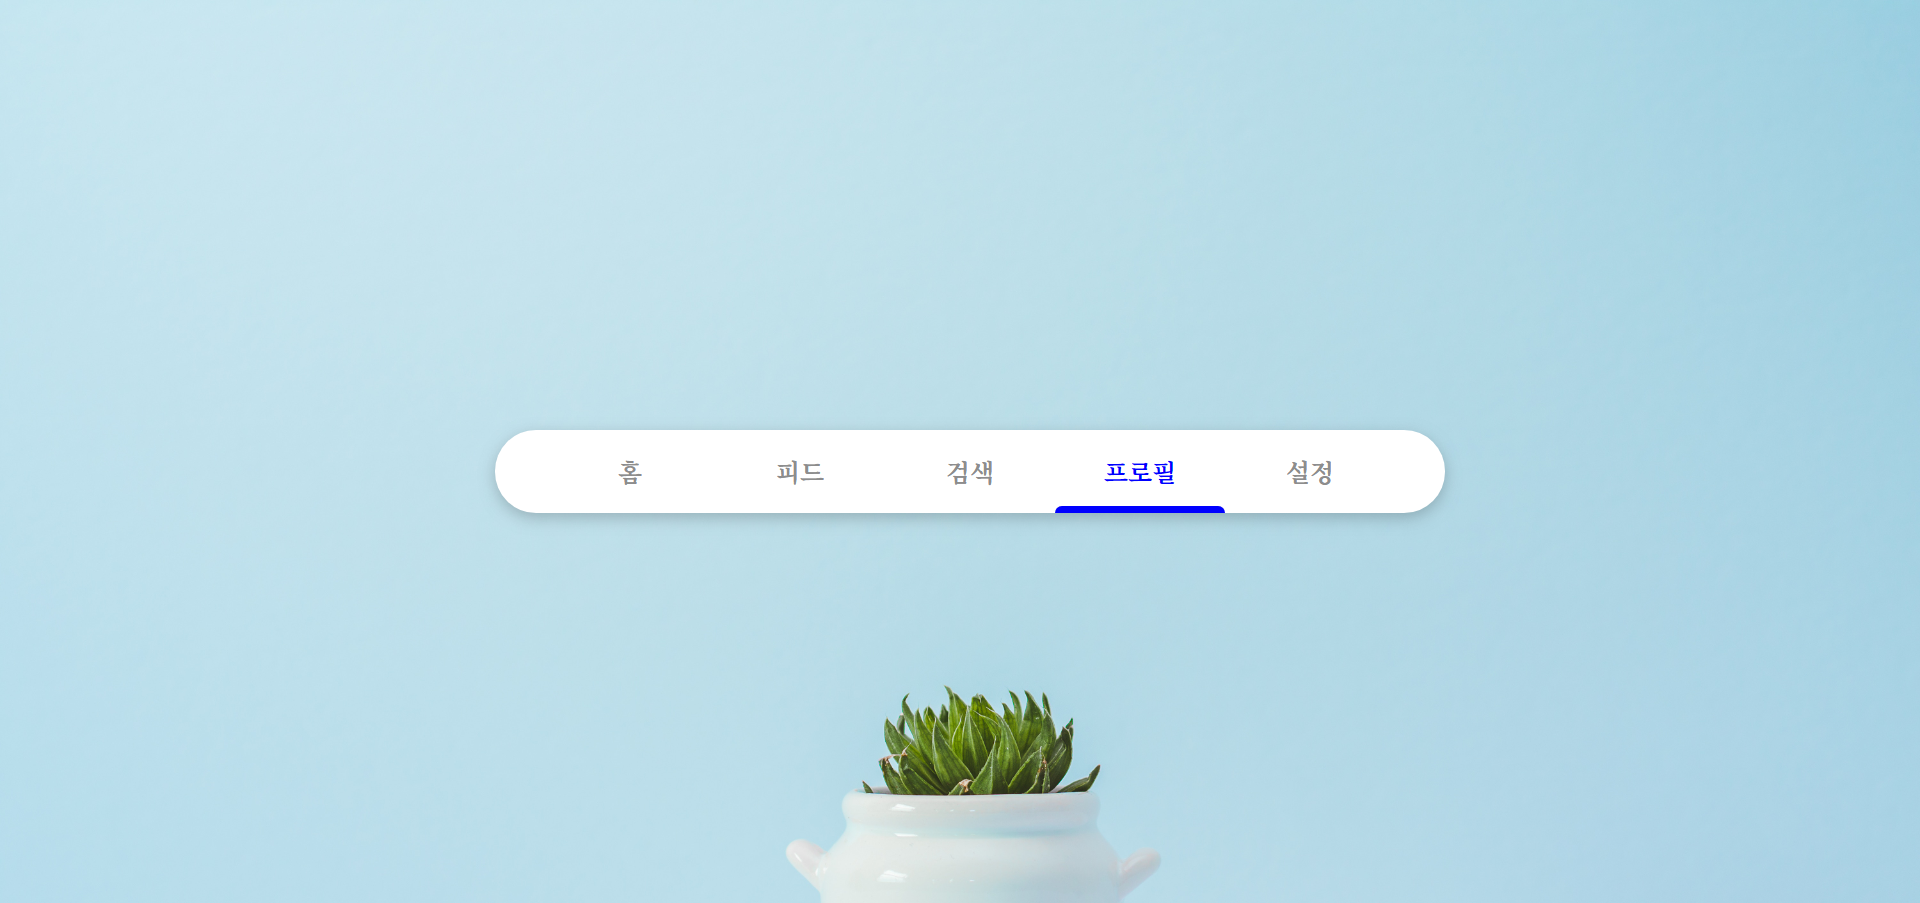
click 이벤트가 잘 적용되고있다! 와아아 움직인다~
4. HTML, CSS - active/hover 트랜지션 겹침 이슈 해결
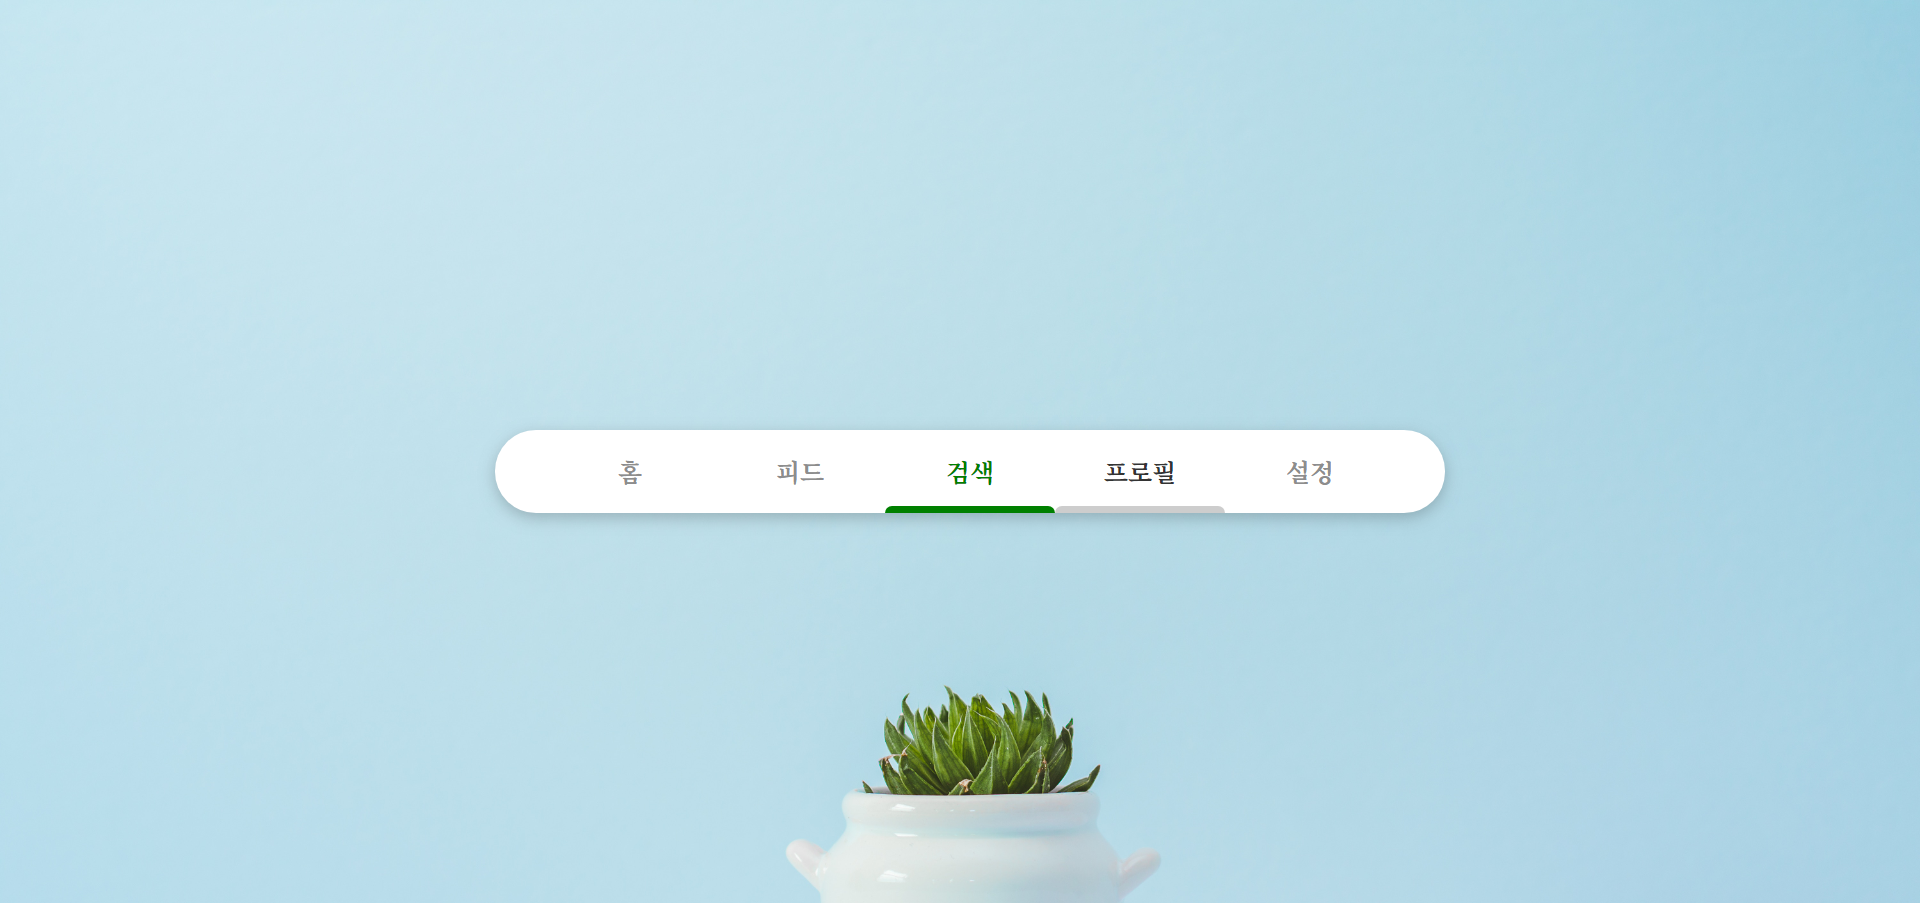
움직여서 좋기는 한데, 자세히 보니 이미 active 된 indicator 아래로 hover 트랜지션이 희미하게 겹치는 이슈가 남아있다. active된 item은 hover style을 없애도록 해야겠다. 그리고 새로 창이 로드되었을 때 홈 메뉴는 무조건 active된 상태로 보이게 하고싶다. HTML class .item에 .is-active라는 새로운 class를 추가한다. 첫 .item에 is-active class를 넣으면, 처음 페이지를 열었을 때 무조건 홈에 active가 된 상태가 되도록 만들 것이다.
<a href='#' class='item is-active' active-color='red'>홈</a>
CSS에서 .is-active가 포함된 .item hover 트랜지션을 쓰지 않고, .is-active가 포함되지 않으면 hover 트랜지션을 그대로 쓰도록 할 것이다. hover 스타일에 :not(selector)를 넣어서 .is-active가 아닐 경우로 바꾼다.
.item:not(.is-active):hover {
    color: #333;
}
.item:not(.is-active):hover:before {
    bottom: 0;
    opacity: 1;
}

음… ㅠㅠ 왜 이렇게 됐지?? JS의 handleIndicator 함수 안에 있는 item.style.color 속성이 사라지지 않아서 그렇다. JS를 수정해야겠다.
5. JS - active/hover 트랜지션 겹침 이슈 해결
JS로 돌아가서, handleIndicator함수에 items.forEach()메소드를 써서 모든 item의 is-active class, style 속성을 제거한다. class를 JS에 가져올 때는 el.classList를 쓴다. 그 뒤로, 클릭된 item에 is-active class를 추가한다.
function handleIndicator(item) {
    items.forEach(item => {
        item.classList.remove('is-active');
        item.removeAttribute('style');
    });

    indicator.style.width = `${item.offsetWidth}px`;
    indicator.style.left = `${item.offsetLeft}px`;
    indicator.style.backgroundColor = item.getAttribute('active-color');

    item.classList.add('is-active');
    item.style.color = item.getAttribute('active-color');
}
성공했다! active 상태에서 hover가 더이상 먹히지 않는다. 그런데 새로 창을 로드했을때 홈 메뉴는 작동하지 않는다. 음… 왜 그렇지?? 첫
.is-active와handleIndicator함수 둘 중 하나만 작동하도록 해야겠다.
6. JS 코드 정리
JS 클릭 이벤트리스너 아래에 첫 .is-active와 handleIndicator 함수 둘 중 true값인 하나를 시행하도록 써야겠다. true값을 내야하므로 논리연산자 &&를 쓴다.
items.forEach((item) => {
    item.addEventListener('click', (e) => {handleIndicator(e.target)});
    item.classList.contains('is-active') && handleIndicator(item);
})
이렇게 적고보니 handleIndicator의 파라미터가 처음부터 item일 필요가 없다. el로 바꾸면 유지보수도 조금 더 쉬워지고, 아래 .forEach메소드의 파라미터와 구별되어서 가독성이 조금 높아질 것 같다.
function handleIndicator(el) {
    items.forEach(item => {
        item.classList.remove('is-active');
        item.removeAttribute('style');
    });

    indicator.style.width = `${el.offsetWidth}px`;
    indicator.style.left = `${el.offsetLeft}px`;
    indicator.style.backgroundColor = el.getAttribute('active-color');

    el.classList.add('is-active');
    el.style.color = el.getAttribute('active-color');
}

items.forEach((item) => {
    item.addEventListener('click', (e) => {handleIndicator(e.target)});
    item.classList.contains('is-active') && handleIndicator(item);
})
이제 새로고침하면 홈 메뉴가 바로 active된다. 끝!
최종 결과물은 이 링크로 들어가면 볼 수 있다.